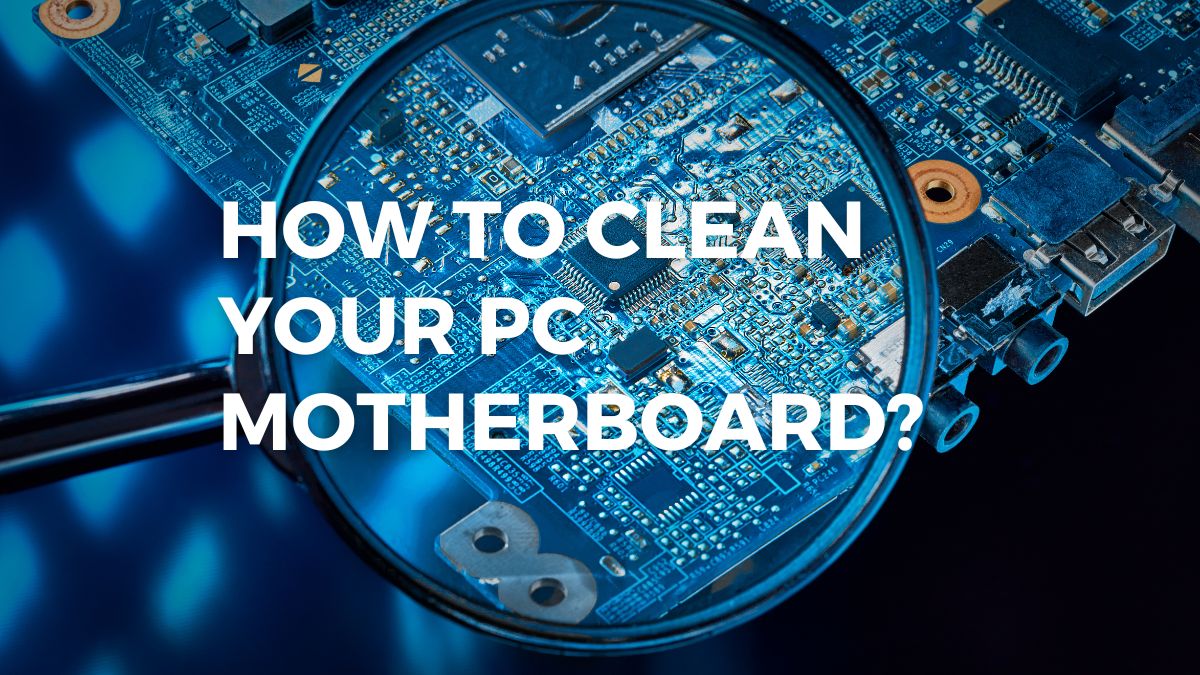
Cleaning a motherboard is an essential maintenance task that can help ensure the smooth operation and longevity of your computer. Over time, dust, dirt, and debris can accumulate on the motherboard, impeding its performance and potentially causing overheating issues. Regularly cleaning your motherboard can help prevent these problems, optimize system performance, and extend the lifespan of your computer.
The motherboard is a crucial component that houses various electronic circuits, connectors, and chips, serving as the central hub for communication between all the hardware components in your computer. As such, it is susceptible to dust buildup, which can hinder its functionality and affect the overall performance of your system. Cleaning the motherboard helps remove these contaminants and ensures that it operates efficiently.
Why Clean Your PC Motherboard on a Regular Basis?
A dirty motherboard can lead to several issues, including overheating, decreased performance, and even system crashes. Dust and debris can accumulate on the motherboard’s components, such as capacitors, resistors, and integrated circuits, reducing their ability to dissipate heat properly. This can result in higher temperatures, causing the system to throttle performance or even shut down to prevent damage.
By cleaning your motherboard, you not only improve heat dissipation but also promote optimal electrical conductivity. Dust particles can act as insulators, impeding the flow of electricity and potentially leading to intermittent connection issues or data transfer problems. Cleaning the motherboard helps maintain a reliable and stable electrical connection between the various components.
How To Clean Motherboard? (Some Easy Steps)
In this guide, we will provide you with a step-by-step process to clean your motherboard effectively. We will discuss the tools you need, the preparation of your workspace, and the specific cleaning techniques required to safely remove dust and debris from the motherboard’s surface, connectors, and ports. We will also provide additional tips and precautions to help you maintain the integrity of your motherboard and ensure a successful cleaning experience.
Regularly cleaning your motherboard not only enhances its performance but also helps prolong its lifespan. By investing a little time and effort into this maintenance task, you can prevent potential issues and ensure that your computer continues to run smoothly. So, let’s get started with the process of cleaning your motherboard and optimizing the performance of your computer!
Note: Before proceeding with the cleaning process, make sure to disconnect your computer from the power source and ground yourself to prevent static electricity discharge that could damage the components.
Gather the necessary tools
When it comes to cleaning a motherboard, having the right tools is essential to ensure a safe and effective cleaning process. Here are the necessary tools you’ll need:
Soft-bristled brush or compressed air canister: A soft-bristled brush is useful for gently removing loose debris, dust, and dirt from the motherboard’s surface. Alternatively, you can use a compressed air canister to blow away the dust and debris from hard-to-reach areas. It’s best to use short bursts of air and hold the canister upright to avoid applying excessive pressure.
Isopropyl alcohol (at least 90% concentration): Isopropyl alcohol is a crucial cleaning agent for removing stubborn residue, fingerprints, and grease from the motherboard’s surface. It helps dissolve and evaporate quickly, leaving no residue behind. It’s recommended to use isopropyl alcohol with a concentration of at least 90% for optimal cleaning results.
Lint-free microfiber cloth: A lint-free microfiber cloth is ideal for wiping the motherboard’s surface after applying isopropyl alcohol. It helps ensure a streak-free and thorough cleaning. Avoid using materials that may leave lint or fibers behind, as they can interfere with the motherboard’s functionality.
Cotton swabs: Cotton swabs are useful for cleaning connectors, ports, and other small and delicate areas on the motherboard. They allow for precise cleaning and can be dipped in isopropyl alcohol to remove dirt and residue effectively. Be cautious not to leave any cotton fibers behind while cleaning.
Antistatic wrist strap (optional but recommended): While not directly involved in the cleaning process, an antistatic wrist strap is a valuable tool for preventing static electricity discharge that could potentially damage sensitive components on the motherboard. It helps dissipate static charges from your body, protecting the motherboard from electrostatic discharge (ESD) during the cleaning process.
Ensure you have all these tools on hand before starting the cleaning process. This will help you achieve a thorough and safe cleaning of your motherboard, maintaining its performance and prolonging its lifespan.
Prepare the workspace
Choose a clean and well-ventilated area to work on your motherboard. Ensure there is sufficient lighting to see the components clearly. It’s crucial to work on a non-static surface, such as an anti-static mat or a wooden table covered with an anti-static bag. This helps prevent static electricity from damaging the components.
Remove the motherboard from the computer
If you’re comfortable with removing the motherboard, it’s generally easier to clean it outside of the case. Refer to your computer’s manual or search online for specific instructions on how to remove the motherboard from your particular model.
Typically, this involves disconnecting cables, unscrewing the motherboard from the case, and carefully lifting it out. Take note of the connections and components you’ll need to reattach later. If you prefer not to remove the motherboard, follow the subsequent steps while taking extra care not to damage any components.
Remove loose debris
Inspect the motherboard for any loose debris, such as dust, hair, or small particles. Use a soft-bristled brush or a compressed air canister to gently brush off or blow away the debris. Avoid applying excessive force to prevent damaging delicate components. Pay attention to the areas around fans, heatsinks, and slots where dust tends to accumulate.
Use compressed air
For stubborn dust or debris in hard-to-reach areas, use a compressed air canister to blow it away. Hold the canister upright and use short bursts of air. Avoid using excessive pressure, as it may damage sensitive components or dislodge small surface-mounted parts. Keep a safe distance between the canister nozzle and the motherboard surface.
Clean the motherboard with isopropyl alcohol
Moisten a lint-free microfiber cloth with isopropyl alcohol. Gently wipe the surface of the motherboard, focusing on areas that appear dirty or have residue buildup. Isopropyl alcohol with at least 90% concentration is preferred because it evaporates quickly and leaves no residue. Avoid applying excessive pressure or using excessive amounts of alcohol. Be thorough but gentle to prevent any accidental damage to the motherboard.

Clean connectors and ports
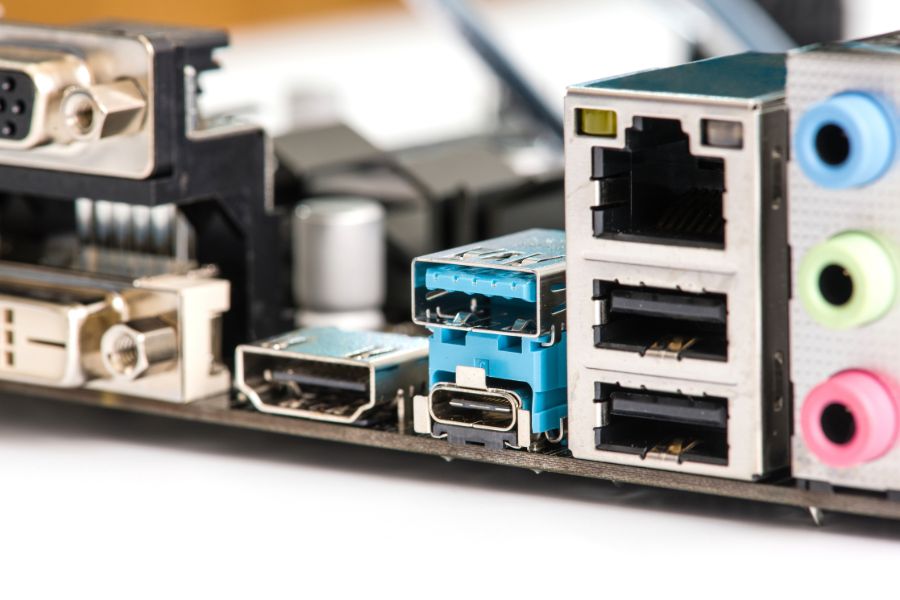
Dip a cotton swab in isopropyl alcohol and gently clean the connectors and ports on the motherboard. Be careful not to leave any cotton fibers behind. Focus on areas like RAM slots, PCIe slots, CPU sockets, SATA ports, and USB ports. These areas tend to accumulate dirt and debris that can affect connectivity and performance. If necessary, use compressed air to remove any remaining debris or use a clean cotton swab to reach into tight spaces.
Let the motherboard dry
After cleaning, allow the motherboard to air dry completely. This usually takes around 15-30 minutes, depending on the ambient temperature and humidity. Placing the motherboard in direct sunlight or using a heat source to speed up the drying process is not recommended, as it may damage the components. Ensure the motherboard is completely dry before proceeding to the next step.
Reassemble or reinstall the motherboard
Once the motherboard is dry, carefully reassemble or reinstall it into your computer. If you removed the motherboard from the case, follow the reverse steps from the removal process. Ensure that all connections are secure and cables are properly connected. Take extra care not to overtighten screws, as it may damage the motherboard orstrip the threads.
Test your computer
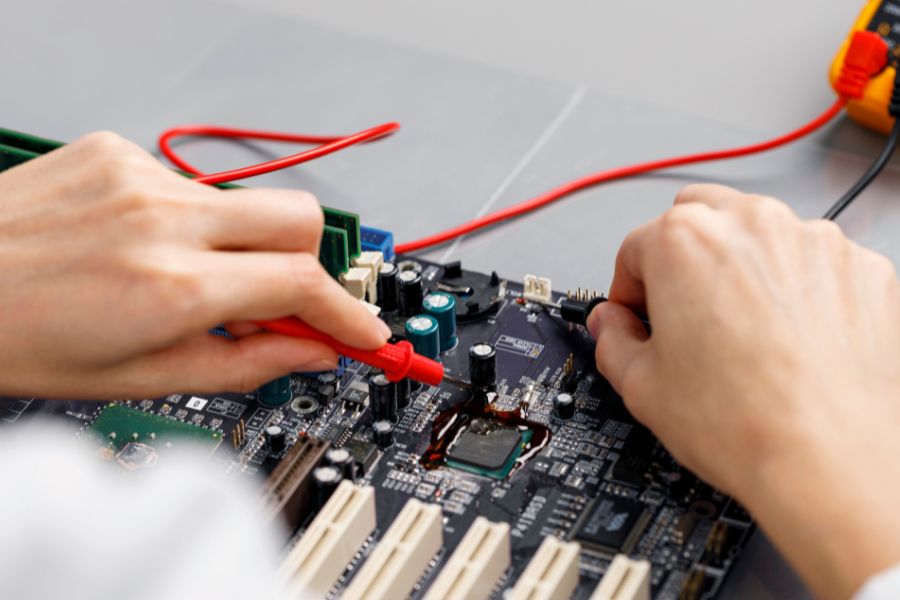
After reassembling or reinstalling the motherboard, reconnect your computer to the power source and power it on. Monitor the system to ensure that everything is functioning correctly. Check if all the components are recognized, and there are no error messages or abnormal behavior.
Run some tests or use your computer for a while to verify that the cleaning process didn’t introduce any new issues. If you notice any problems, double-check your connections and consult your computer’s manual or seek technical support if necessary.
Additional tips for cleaning a motherboard
- Avoid using excessive force: When cleaning, be gentle and avoid applying excessive force or pressure. Motherboards have delicate components that can be easily damaged.
- Take care around thermal paste: If you’re removing the CPU cooler for cleaning, take care not to smudge or contaminate the thermal paste. If needed, clean the old thermal paste off the CPU and cooler surfaces using isopropyl alcohol and apply a fresh layer of thermal paste before reattaching the cooler.
- Be cautious with liquids: Use isopropyl alcohol sparingly and avoid getting it on any connectors or other sensitive parts. Excessive liquid can cause damage or short circuits.
- Use antistatic precautions: While not necessary for cleaning, it’s a good practice to wear an antistatic wrist strap or periodically ground yourself by touching a grounded metal object. This helps prevent static electricity from damaging the components.
- Regular cleaning schedule: Cleaning your motherboard at least once every six months or whenever you notice significant dust buildup is a good practice. However, the frequency may vary depending on your environment and usage patterns.
- Consider a dust filter: If your computer case doesn’t have dust filters, consider installing them to reduce the amount of dust that enters the system and accumulates on the motherboard and other components.
- Professional help: If you’re uncomfortable with the cleaning process or encounter any difficulties, it’s always a good idea to seek professional assistance from a qualified technician.
Frequently Asked Questions (FAQs)
Why is it important to clean a motherboard?
Cleaning a motherboard is important for several reasons. Dust, dirt, and debris can accumulate on the motherboard over time, hindering its performance and causing heat buildup. By regularly cleaning the motherboard, you can prevent overheating issues, optimize system performance, and extend the lifespan of your computer.
How often should I clean my motherboard?
The frequency of cleaning your motherboard depends on various factors such as your computer’s environment, usage patterns, and the amount of dust present. As a general guideline, it’s recommended to clean your motherboard at least once every six months. However, if you notice significant dust buildup or experience performance issues, it’s advisable to clean it more frequently.
Can I clean the motherboard while it’s still installed in the computer?
Yes, you can clean the motherboard while it’s still installed, but you need to exercise caution to avoid damaging any components. Take care not to apply excessive force or liquid, and ensure that the computer is disconnected from the power source before cleaning. Removing the motherboard from the computer can make the cleaning process easier and safer.
Can I use water to clean the motherboard?
It is not recommended to use water to clean the motherboard. Water can cause damage to sensitive electronic components and may leave behind residue or moisture that can lead to short circuits. Instead, use isopropyl alcohol with at least 90% concentration, as it evaporates quickly and leaves no residue.
How do I clean the connectors and ports on the motherboard?
To clean connectors and ports on the motherboard, dip a cotton swab in isopropyl alcohol and gently clean the area. Be careful not to leave any cotton fibers behind. If necessary, use compressed air to remove any remaining debris. Pay close attention to connectors, such as RAM slots, PCIe slots, CPU socket, SATA ports, and USB ports, as these areas are prone to accumulating dirt.
Can I use a vacuum cleaner to clean the motherboard?
It is generally not recommended to use a vacuum cleaner to clean the motherboard directly. Vacuum cleaners can generate static electricity, and the suction force may be too strong, potentially damaging delicate components. Instead, use a soft-bristled brush or a compressed air canister to remove loose debris, and clean the surface with isopropyl alcohol and lint-free cloth.
Should I clean the CPU and GPU along with the motherboard?
While cleaning the motherboard, it’s a good opportunity to clean the CPU and GPU as well. However, the process of cleaning the CPU and GPU is slightly different and may involve removing the heatsinks, cleaning the thermal paste, and reapplying fresh thermal paste. Follow specific instructions for cleaning the CPU and GPU provided by the manufacturer or consult a professional if you’re unsure.
The Verdict
In conclusion, cleaning your motherboard is a crucial maintenance task that helps ensure optimal performance and longevity for your computer. By removing dust, dirt, and debris from the motherboard, you can prevent heat buildup, improve electrical conductivity, and avoid potential performance issues.
Throughout this guide, we’ve discussed the step-by-step process of cleaning a motherboard. We started by gathering the necessary tools, including a soft-bristled brush or compressed air canister, isopropyl alcohol, lint-free microfiber cloth, cotton swabs, and an optional antistatic wrist strap. These tools are essential for effectively and safely cleaning the motherboard.
Remember to consult your computer’s manual, manufacturer’s guidelines, or seek professional assistance if you encounter any difficulties or are unsure about any step of the cleaning process. Professional help ensures that the cleaning is done correctly and minimizes the risk of damaging the motherboard or other components.
Taking the time to clean your motherboard is a worthwhile investment in the overall health and performance of your computer. With proper cleaning and maintenance, you can enjoy a smoother and more reliable computing experience for years to come.


